后端以前都是写好api存放到文本文件中,更新不及时,而且和前端联调也比较麻烦,时常修改字段,所以就有了swagger等API接口管理工具。下面介绍swagger工具的使用。
# swagger简介
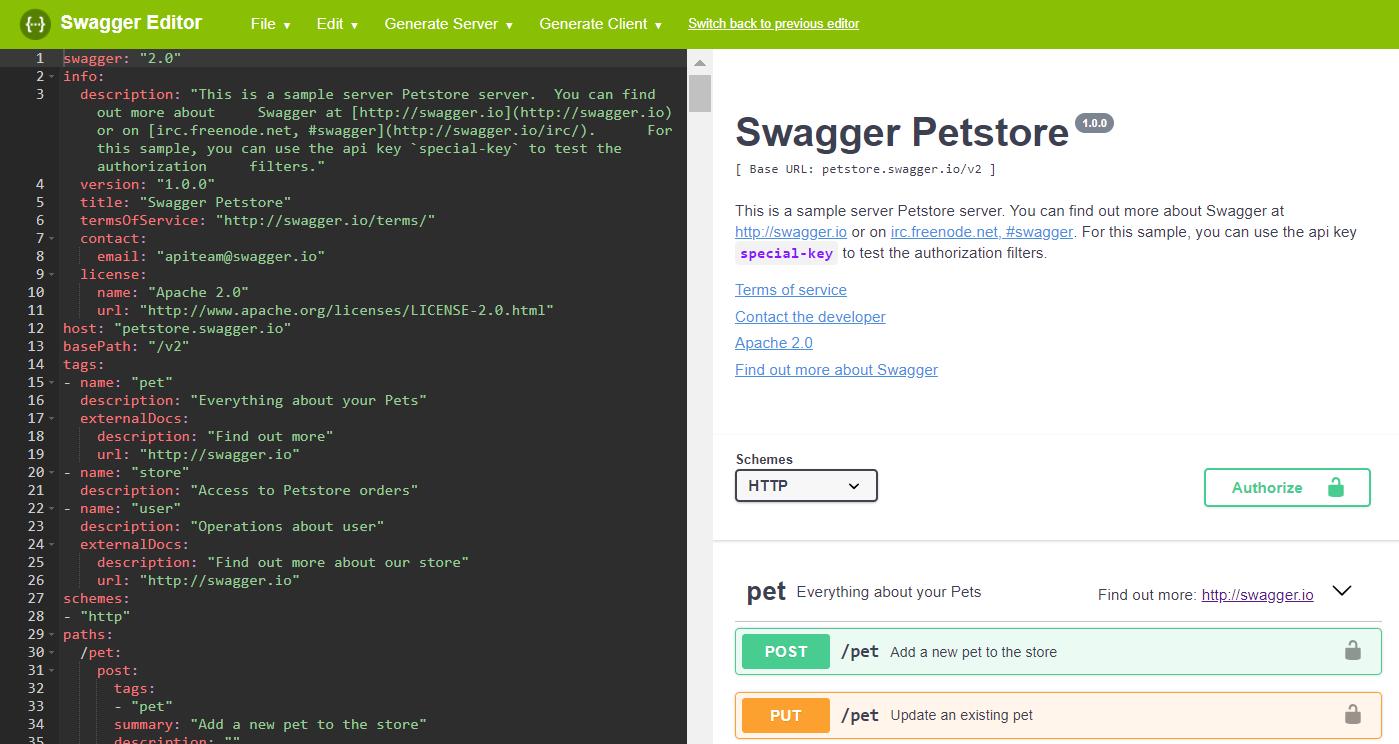
swaggerEdit (opens new window)
Swagger是一套功能强大且易于使用的API开发人员工具套件,适用于团队和个人,可在整个API生命周期(从设计和文档到测试和部署)中进行开发。
Swagger由开放源代码,免费和市售工具共同组成,它使任何人(从技术工程师到街头智能产品经理)都可以构建每个人都喜欢的惊人API。
Swagger由SmartBear Software构建,后者是团队软件质量工具的领导者。SmartBear落后于软件领域的一些知名公司,包括Swagger,SoapUI和QAComplete。
swagger分为编辑器和预览两部分。
# swagger编辑器安装使用
# 安装swagger编辑器
- 方法1:npm安装运行
# Install npm packages (if needed)
npm install

# Build the app
npm run build

# Build an image
docker build -t swagger-editor .

# Run the container
docker run -d -p 80:8080 swagger-editor
1
2
3
4
5
6
7
8
9
10
11
2
3
4
5
6
7
8
9
10
11
在游览器打开http://localhost即可运行。
- 方法2:docker容器安装
docker pull swaggerapi/swagger-editor
docker run -d -p 80:8080 swaggerapi/swagger-editor
# 或者
docker run -d -p 80:8080 -e URL=/foo/swagger.json -v /bar:/usr/share/nginx/html/foo swaggerapi/swagger-editor
1
2
3
4
2
3
4
在游览器打开http://{服务器ip}即可运行。
# 编辑内容
这里 (opens new window)是文档,可以查看如何使用规范。
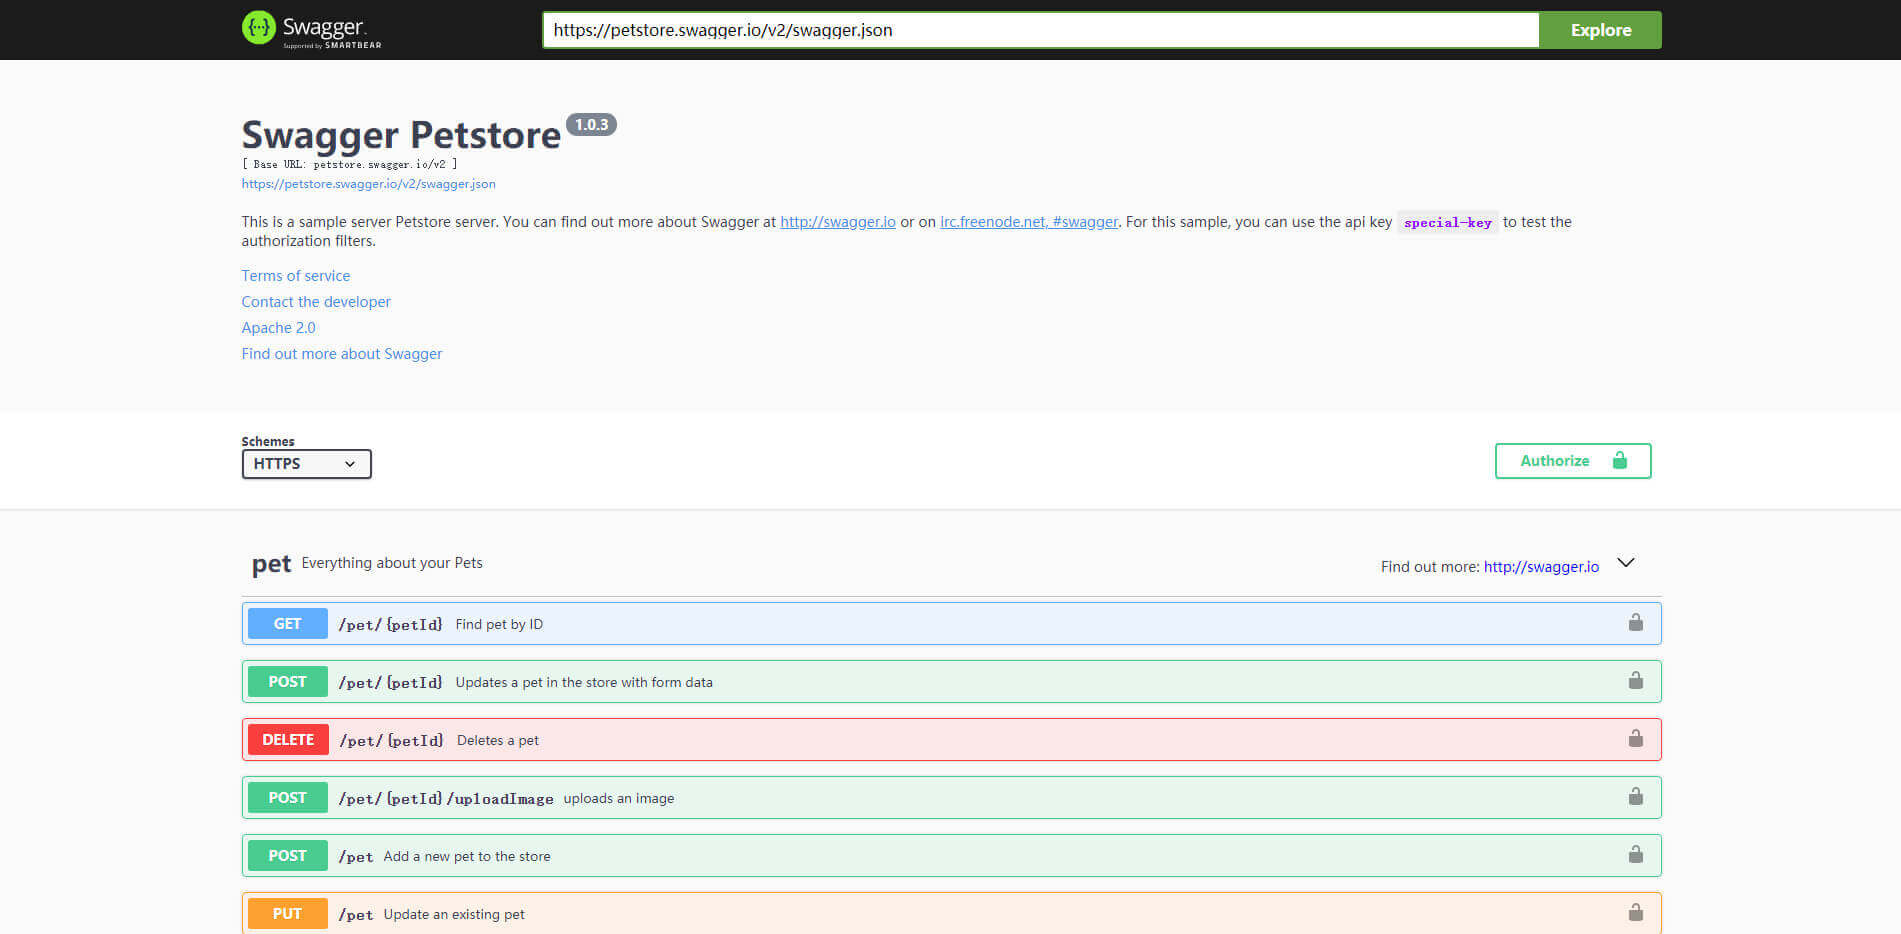
# swaggerUI安装使用
- 方法1:express框架安装运行
使用express安装初始化一个项目。
编辑app.js
const express = require('express')
const pathToSwaggerUi = require('swagger-ui-dist').absolutePath()
const app = express()
app.use(express.static(pathToSwaggerUi))
app.listen(3000)
1
2
3
4
5
2
3
4
5
在游览器打开http://localhost:3000即可运行。
- 方法2:docker容器安装
docker pull swaggerapi/swagger-ui
docker run -p 80:8080 swaggerapi/swagger-ui
# 或者
docker run -p 80:8080 -e SWAGGER_JSON=/foo/swagger.json -v /bar:/foo swaggerapi/swagger-ui
docker run -p 80:8080 -e BASE_URL=/swagger -e SWAGGER_JSON=/foo/swagger.json -v /bar:/foo swaggerapi/swagger-ui
1
2
3
4
5
2
3
4
5
在游览器打开http://{服务器ip}即可运行。
- 方法3:使用unpkg
<script src="https://unpkg.com/swagger-ui-dist@3/swagger-ui-bundle.js"></script>
<!-- `SwaggerUIBundle` is now available on the page -->
1
2
2
# 写在最后
以上就是swagger的安装和使用方法。


